Let’s get right to it. If you’re here you’re wondering what the grade levels are for this PBL. This resource that can be purchased in my TpT store is available for grades 1 – 4, 5 – 8, and 9 – 12. Something for everyone!
Brief Overview
This resource was inspired by an article I read that my friend sent me. The article talked about students’ confusion about what historical artifacts are and ways to help.
Get your students working with historical artifacts and thinking about the items in their lives as historical artifacts. After all, in a hundred years, people will think smartphones are just so weird and wonder how on Earth we used them. : )
This PBL is an opportunity for students to build a museum and to tell viewers all about their artifacts.
Grades 1 – 4: What’s included


Younger students need a very simplified learning experience when it comes to historical artifacts. I decided it was best to keep students focused on the 20th century. The 20th century was a century of innovation with many technological changes which makes it a great century to work on with your students.
They of course know what a television is but they will enjoy learning about the first televisions and comparing them to today. Refrigerators aren’t exciting until your students learn that a hundred years ago, they didn’t exist. What did people do? Iceboxes of course.
“What do you mean there was no electricity?” – me circa 1989 when talking to my grandparents about when they were little kids.
You are provided with a list of possible artifacts that students could learn about. Not all of the artifacts are important (like bubble gum) but I wanted to keep it friendly and approachable for our younger students. Of course, you can always add to the list or students may have their own ideas.
Next, you can conduct all of the research in your classroom or organize a trip to the library. Have your librarian guide students through a variety of resources. This is an opportunity to introduce students to periodicals, digital sources, books, etc. Plus, it is always fun to do serious learning in a room other than the classroom.
I included a research page to help focus students. They need to look for dates of when the artifact was invented or introduced to the public. Sometimes things are much older than we think of but they didn’t become popular or widely available until later. Television is an example of this. Invented in the 1920’s it became widely available and popular in the 1950s.
There is a display page for students to write a formal introduction to their artifact. Think of this as the information displayed in a real museum. Students are telling the story of this artifact. What it is, when it was popular, why it was popular, and how it changed lives. Younger students may need help with this writing section.
The final step in the project is to have artifacts to display. This may be the hardest step in the entire project. Students can bring in artifacts to display in their museum. I personally would provide the artifacts. You can collect real artifacts (an old phone is easy to collect and store) especially if they are smaller. For larger but prevalent artifacts, get toy versions (no one wants to buy and store an old television for a school project. Get a small dollhouse television.) Printing images is also a good idea. Consider laminating them to keep them nice in storage.
Display the artifact (or the image of it) with the student’s display information and have your students walk through the museum. If you can, get your school to tour the museum. Display your student’s work on parent night or in a display case.
Students can work on 1 artifact and up to 4 per student. I personally would assign only one artifact to students in 1st and 2nd grade while I would assign four resources to 4th graders. But this is flexible. Do what works best for your students.
Grades 5 – 8: What’s Included


Everything that is included in grades 1 – 4 is included in this resource and could make a really cute classwide or even school-wide project. But for students in grades 5 – 8, they need more of a challenge. I have included an artifact list for the 18th and 19th centuries.
As you go further back in history, the information becomes a little harder to find and for many students, they sometimes think the artifacts are less thrilling. That happens. I mean, do you think a cotton gin is amazing? Really? (No you don’t.) What is important is the big picture. Ensure your student’s work is ready for display as a whole. No student wants to have the worst prepared artifact in the museum.
Artifacts in grades 5 – 8 could be really awesome because they are old but unless you are interested in antiques, I don’t encourage you to collect a bunch at once. Contact a local museum (a real local one. Don’t contact the Smithsonian, the answer will be no) and see if they will lend the school a few pieces. They might not but maybe could arrange for a few photographs to be sent to you. They might even be willing to come in and conduct a lesson for you.
Grades 9 – 12: What’s Included

Hopefully, you’ve read the grades before. The PBL is exactly the same as grades 1 – 4 and 5 – 8 but what distinguishes those grades from the high school level is how far back in history your museums can go.
You get the artifact lists for the 18th – 20th centuries but I encourage you to reach far back. Much farther back. Go back to the ancient world. Include a variety of civilizations. Created a themed museum.
I’ve included four museum-theme challenges. Students can come up with their own theme challenge (and I encourage you to work with students on creating their own so they can focus on areas that interest them) or choose from the small list I provided as examples.
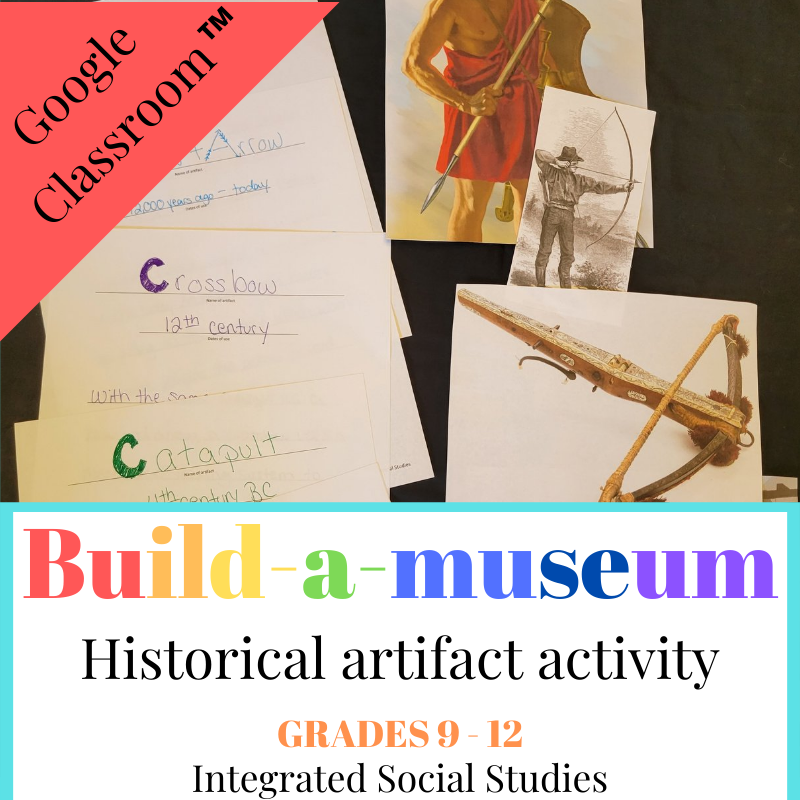
An example of a theme is having a student focus on ranged weapons over time. The student could choose for example, the javelin, the bow & arrow, the catapult, and the crossbow. Their research should describe how and why the weapons were used and possibly even why they were necessary. This is a research group that should absolutely print images and NOT bring in artifacts for their museum. (I shouldn’t have to say this but I just did.)
It would also be amazing to coordinate theming museums with your different class periods. If you teach three sections of world history for example, you could choose a civilization to focus on. One class could work on artifacts of technology. Another section could work on art artifacts. Another section could work on governmental or economic artifacts.
In the preview of 9 – 12 you can see the artifacts I chose for a pretend-themed museum around the Persian Empire. I based this on the last year that I taught. I taught five sections of AP world history and one regular world history class. The themed museum plan is based on five sections of the same class.
Hopefully, you enjoyed reading this blog and are ready to purchase the resource. Each resource has a preview in case you still want to see more. Click on the image for the resource you want to see more of and you’ll be redirected to my TpT store.
******************************************
If you liked this then maybe you’d also like:


3 responses to “Project-based learning: Build-a-museum”
This is interesting!
LikeLike
Thanks! I made my child do this last year. It was a hit. : )
LikeLike
[…] is also a blog about this resource if you want to delve a little deeper into this […]
LikeLike